Sky Textures
Add cool effects to your WindSim 3D visualizations.
The final touch for your WindSim presentations is the addition of textures—for more compelling visualizations of your models.  Add textures to realistically represent the terrain and the sky.
Satellite photos or scanned maps specific to your project’s location are added to the digital terrain model. That makes it easier to recognize the geographic location of your model. The example on the right illustrates a sky texture combined with a terrain texture. And, of course, a wind turbine.
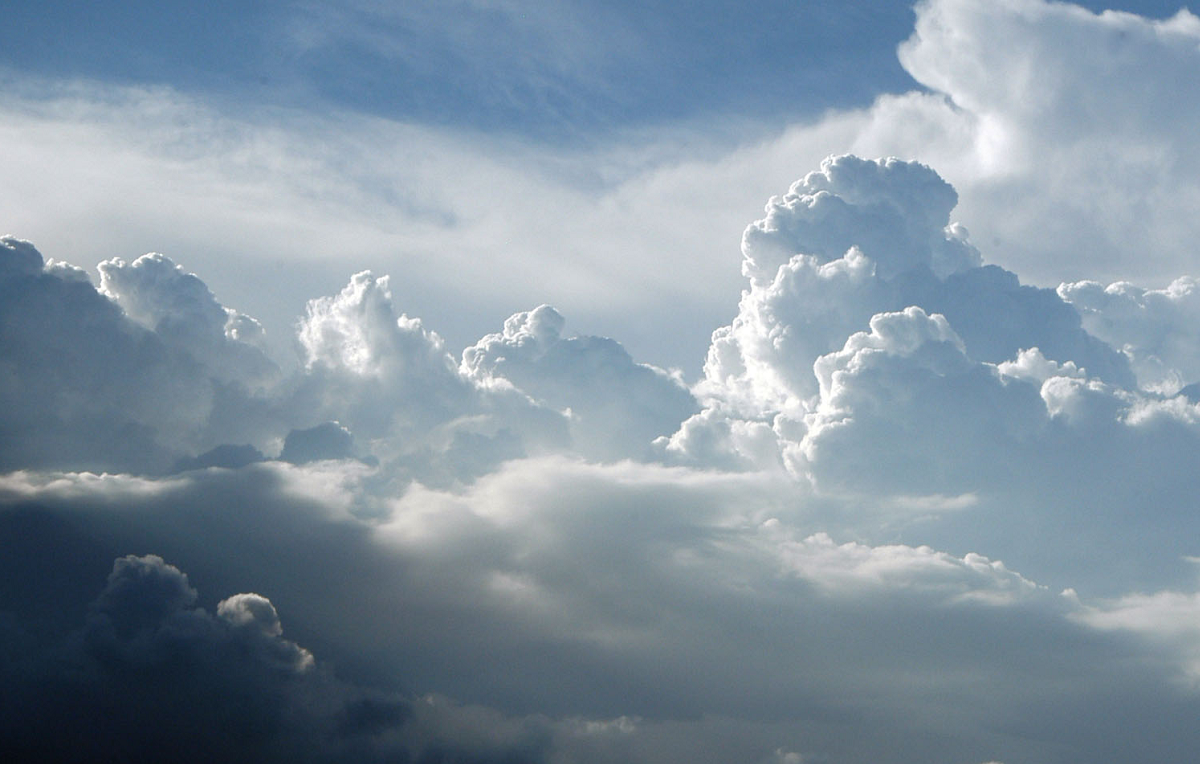
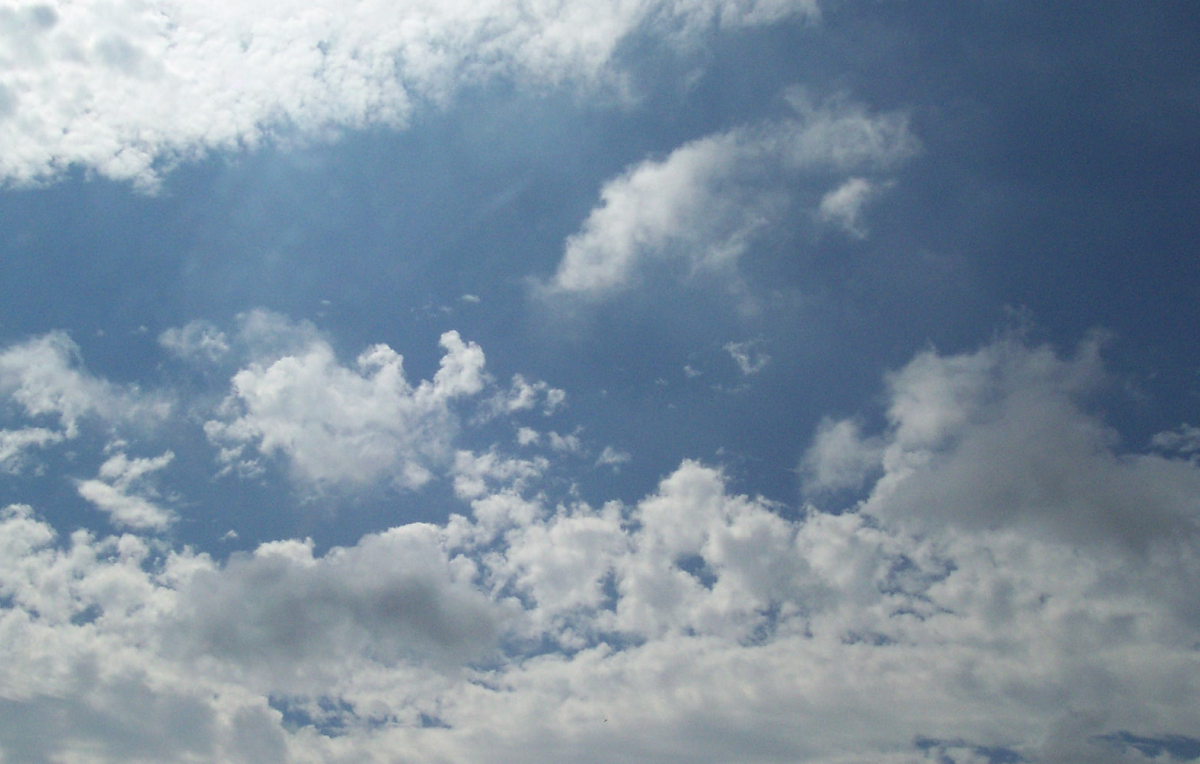
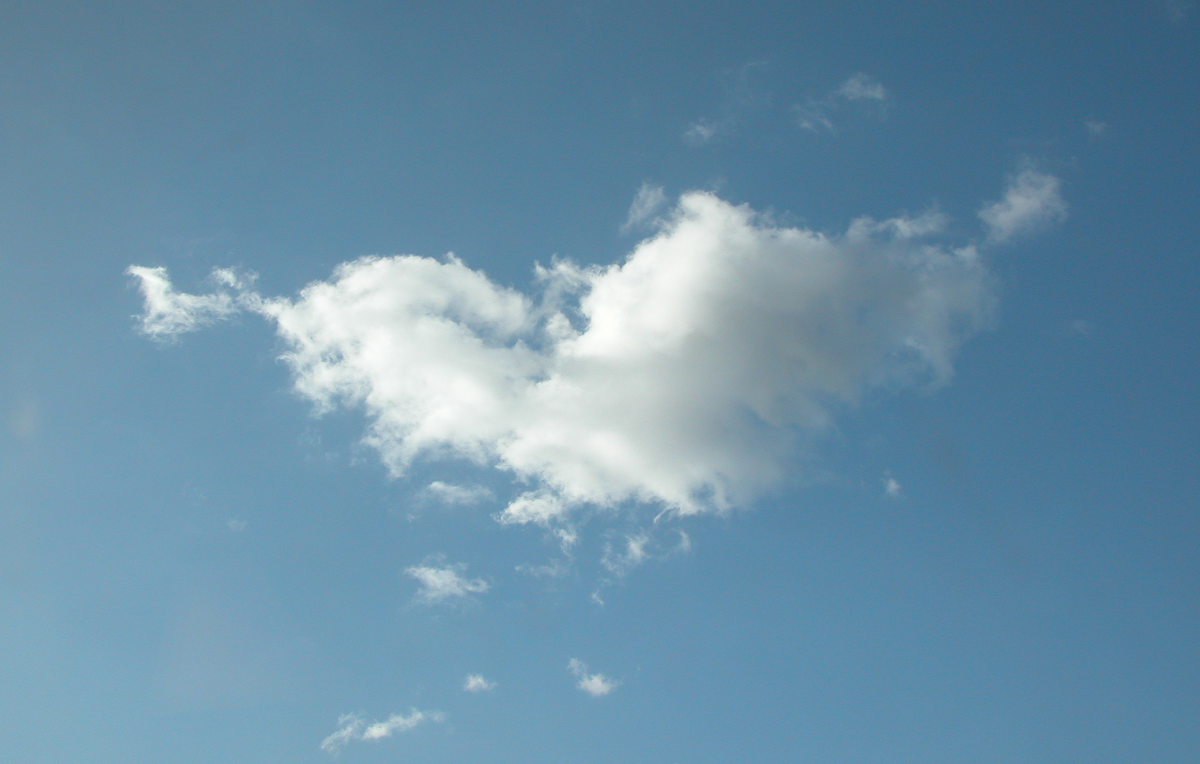
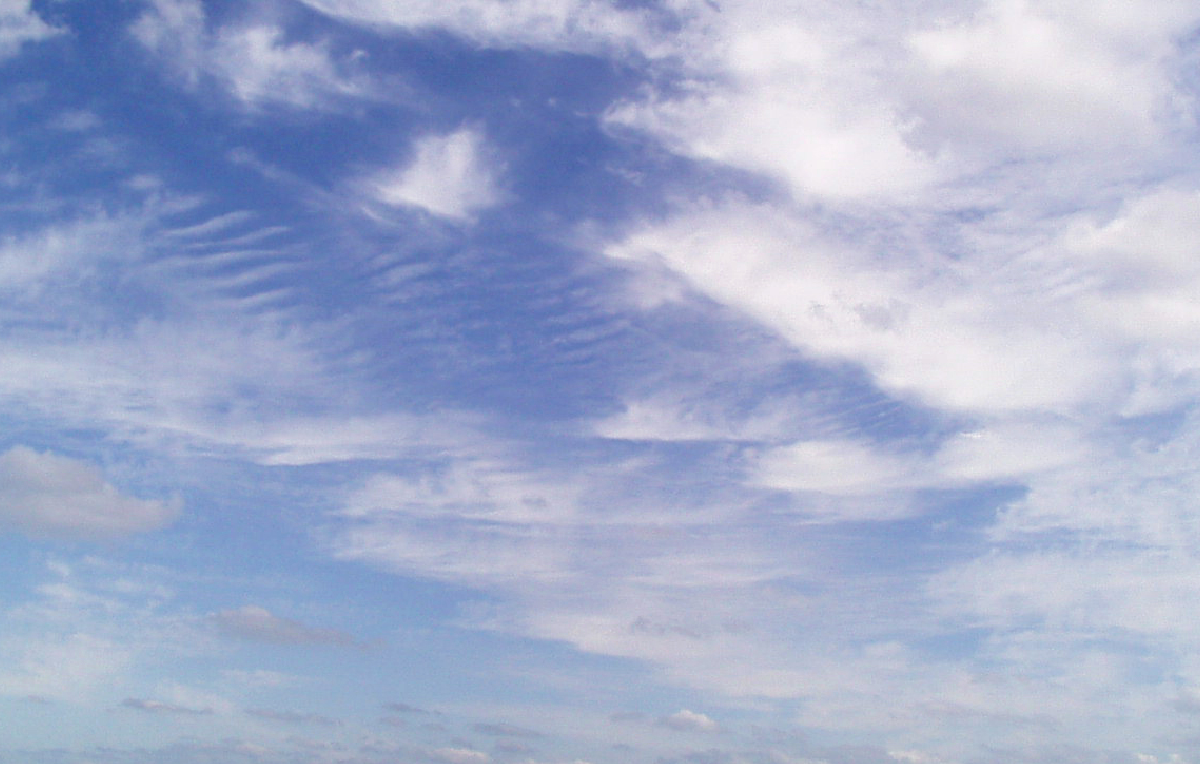
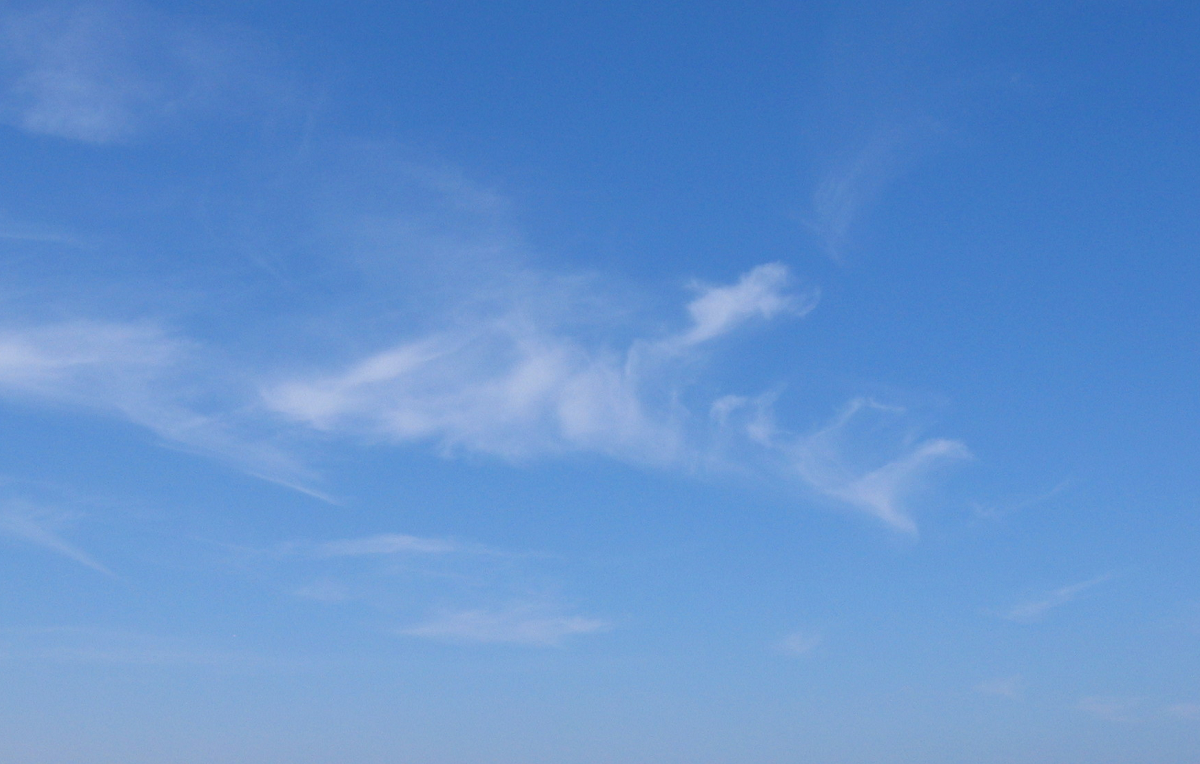
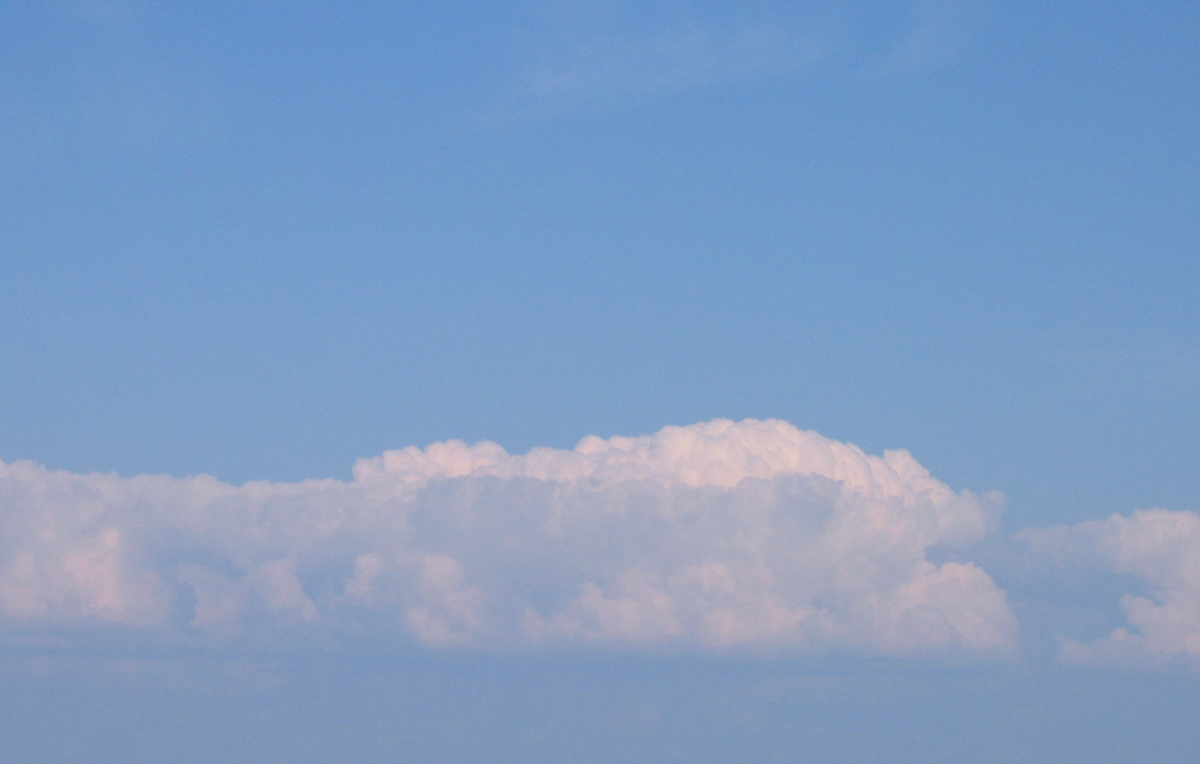
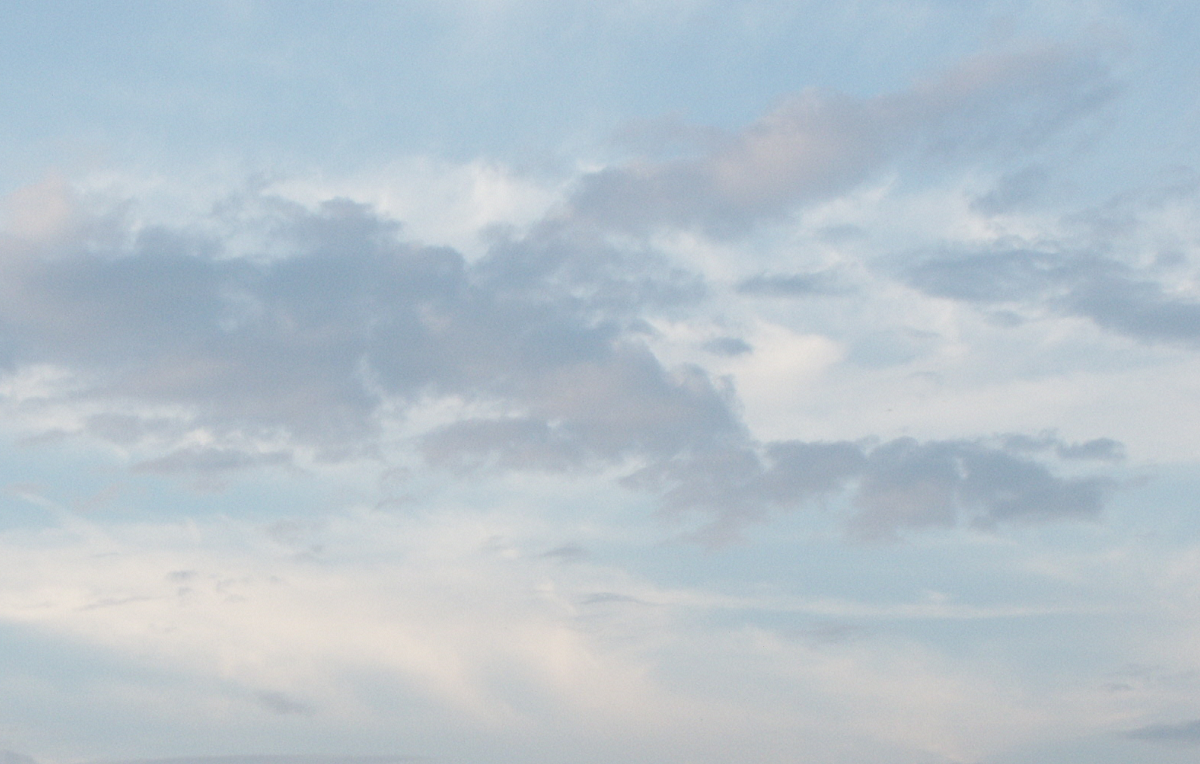
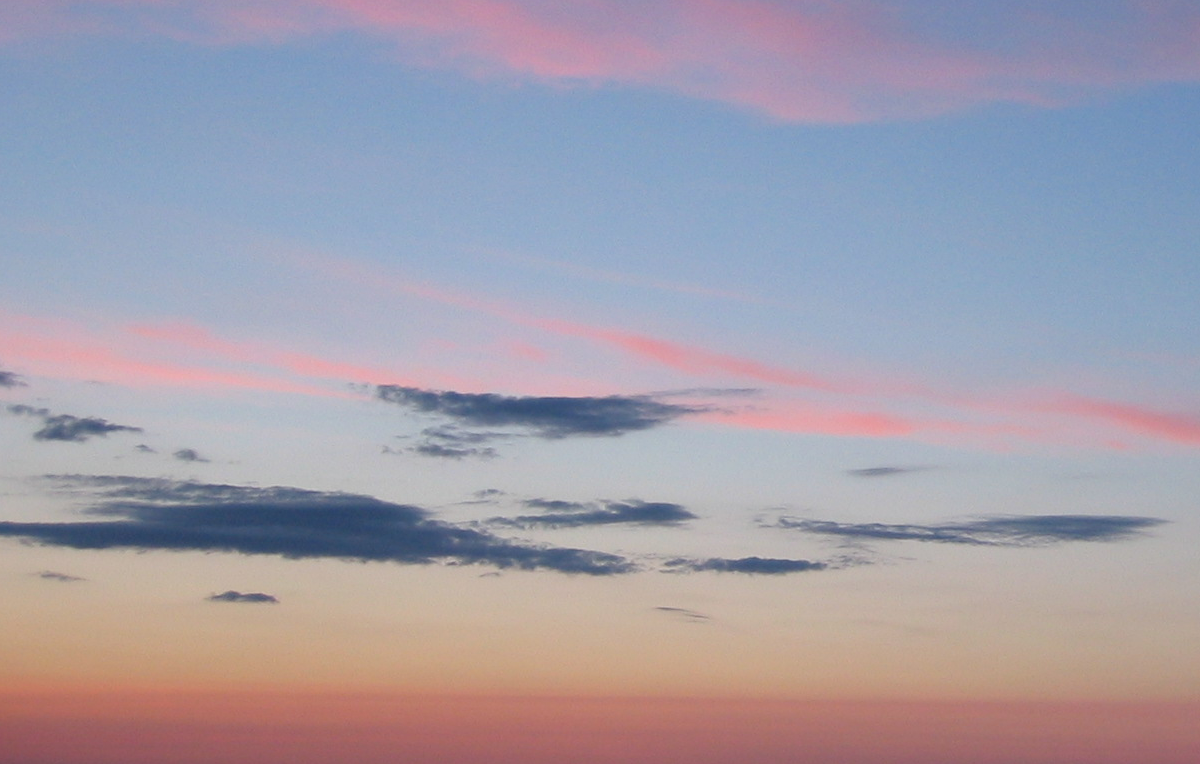
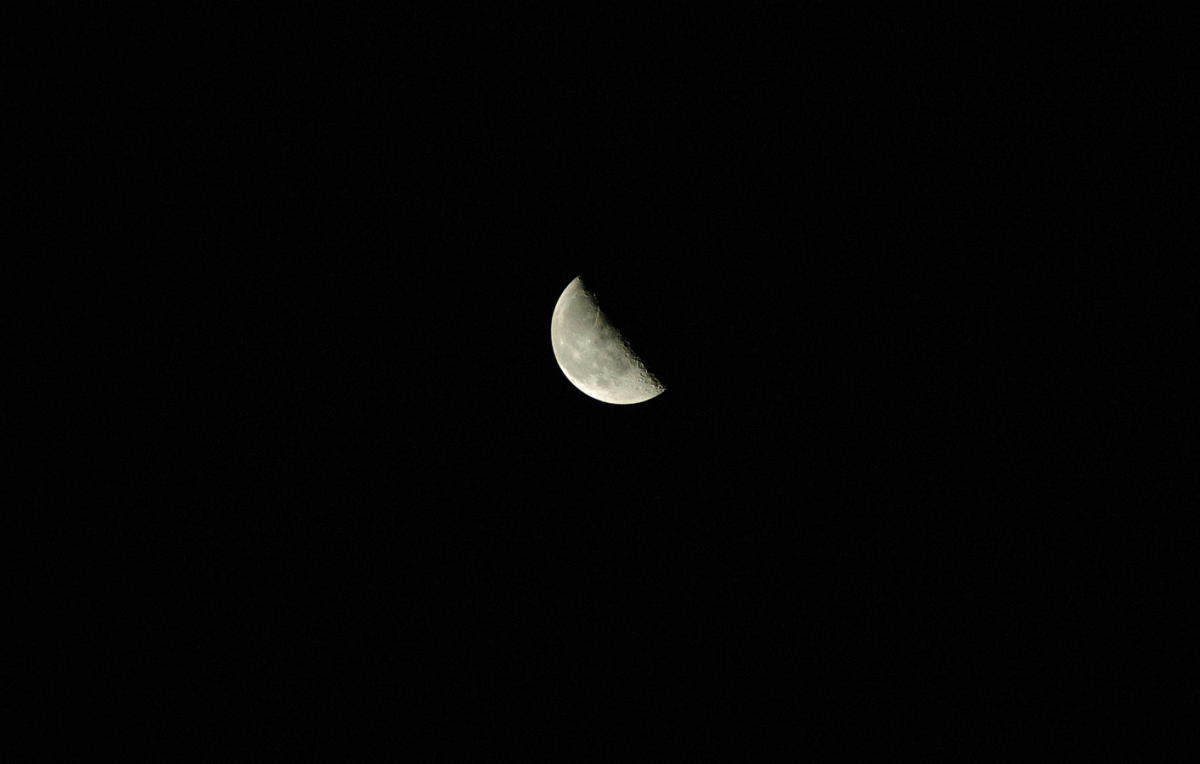
The images in the Sky Texture Gallery below can be freely downloaded and used as “sky” in WindSim 3D visualizations.
Like to share your examples with the WindSim user community? Send them along and we’ll post them here.
Satellite photos or scanned maps specific to your project’s location are added to the digital terrain model. That makes it easier to recognize the geographic location of your model. The example on the right illustrates a sky texture combined with a terrain texture. And, of course, a wind turbine.
The images in the Sky Texture Gallery below can be freely downloaded and used as “sky” in WindSim 3D visualizations.
Like to share your examples with the WindSim user community? Send them along and we’ll post them here.
Sky texture gallery
Adding texture in WindSim
More On Textures
Sky texture gallery
Click any thumbnail image below to see a larger version of the image and then right click to save the image.
The files are ~ 3MB each so please be patient.
 |  |  |  |
 |  |  |  |
 |  |  |  |
 |
Adding texture in WindSim

Screenshot of Adding Textures in WindSim
More On Textures
The texture is stretched over the cylinder surrounding the terrain model by stretching it over the first
half-cylinder and then mirroring it onto the second half-cylinder.

The width/height aspect ratios of the texture and the half-cylinder should be equal to reduce distortion. The aspect ratio of the half-cylinder is 1.57.